How Karl Taylor Actually Lit That Shot (And Why Lighting Ratios Are the Wrong Question)

How Karl Taylor Actually Lit That Shot (And Why Lighting Ratios Are the Wrong Question)

Every time I finish a commercial shoot and review the selects, I flip back through my lighting journal and check what I sketched before the first frame fired. More often than not, the setup that worked was not the setup I planned. It was the one I adjusted after reading the shadows. That habit, paying close attention to what the dark areas are doing rather than obsessing over the bright ones, is something I picked up slowly over years of editorial work.

Why Your Studio Workflow Breaks Down Before You Touch a Light

Why Your Studio Workflow Breaks Down Before You Touch a Light

Every shoot I’ve ruined taught me something the ones that went perfectly never could. My worst was an editorial for a mid-sized fashion client early in my career. I was using two different strobe manufacturers, neither of which I’d color-checked against each other, and I wrapped an eight-hour day feeling solid. Clean exposures, sharp frames, confident talent. Then I pulled the cards into Lightroom and found a 400K temperature swing between my key light and my fill.

What Anne Geddes's Studio Teaches Every Working Photographer About Trust, Team, and Baby Lighting

What Anne Geddes's Studio Teaches Every Working Photographer About Trust, Team, and Baby Lighting

There’s a question I get at workshops almost every time: “How do you handle unpredictable subjects?” Usually the person asking is talking about a difficult client or a fidgety model. But the hardest version of that problem is photographing infants, where you have zero verbal communication, a narrow window of cooperation, and something genuinely precious at stake. I’ve shot enough commercial work to know that the gap between a controlled adult portrait session and a session with a six-month-old is not a gap, it’s a canyon.

How to Light a Boudoir Scene With Depth, Glow, and Edge: A Four-Light Breakdown

How to Light a Boudoir Scene With Depth, Glow, and Edge: A Four-Light Breakdown

Boudoir is one of those genres that punishes lazy lighting more than almost anything else. The intimacy of the subject demands that every light feel intentional, warm, and placed with care. Too flat and the image reads like a passport photo. Too dramatic and you lose the mood entirely. For years I kept a tear-out from a European fashion magazine pinned above my lighting kit because I could not figure out how the photographer had layered background light against skin light so seamlessly.

Breaking Down a 4-Light Model Headshot Setup (And the Blue Gel Detail Most Photographers Miss)

Breaking Down a 4-Light Model Headshot Setup (And the Blue Gel Detail Most Photographers Miss)

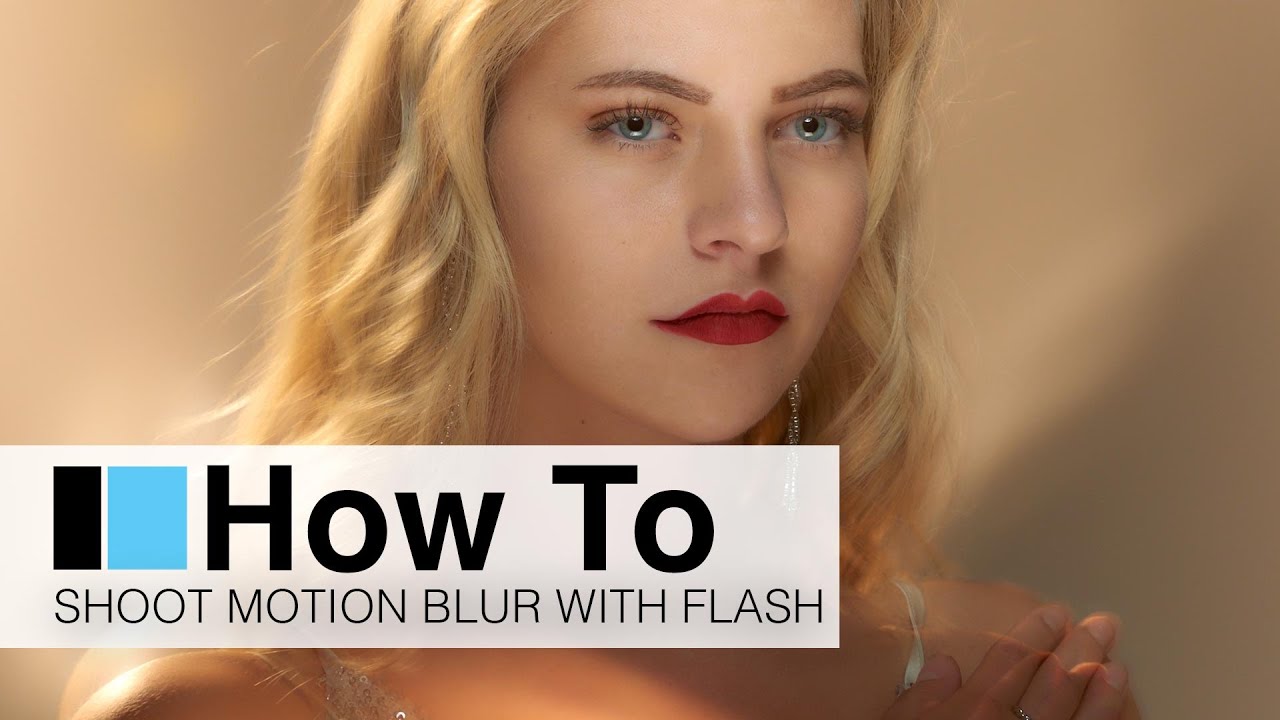
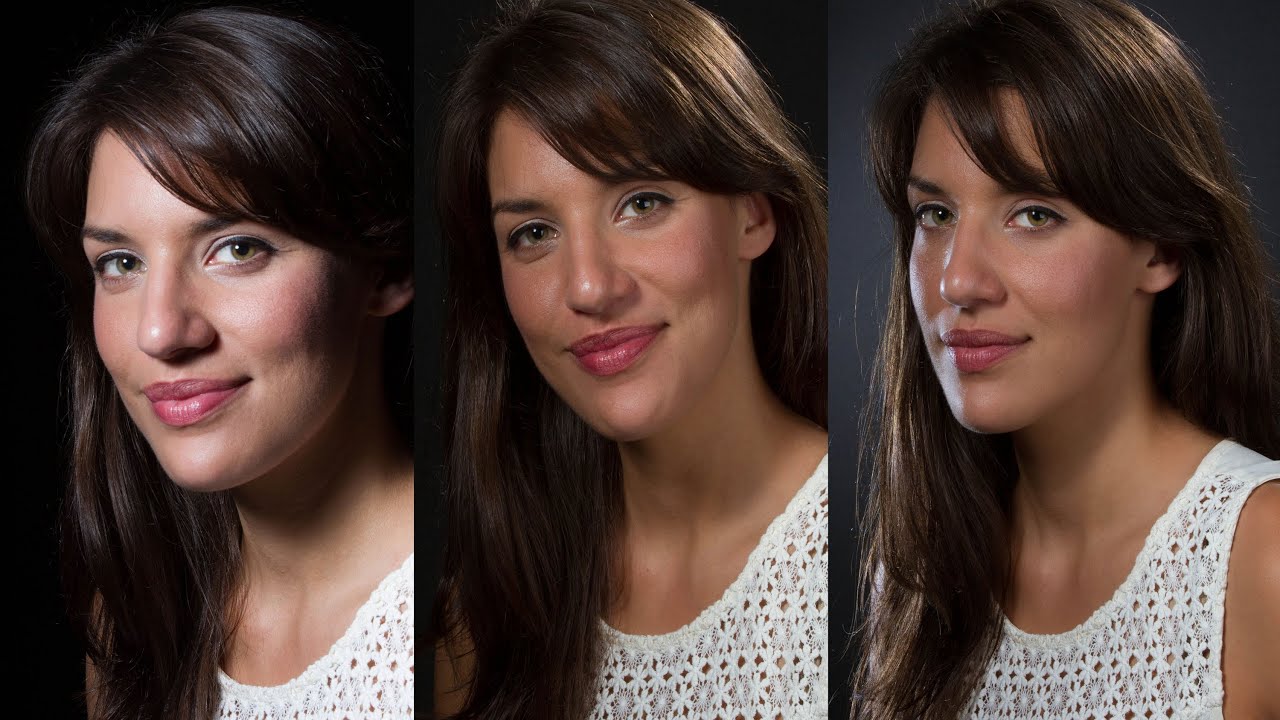
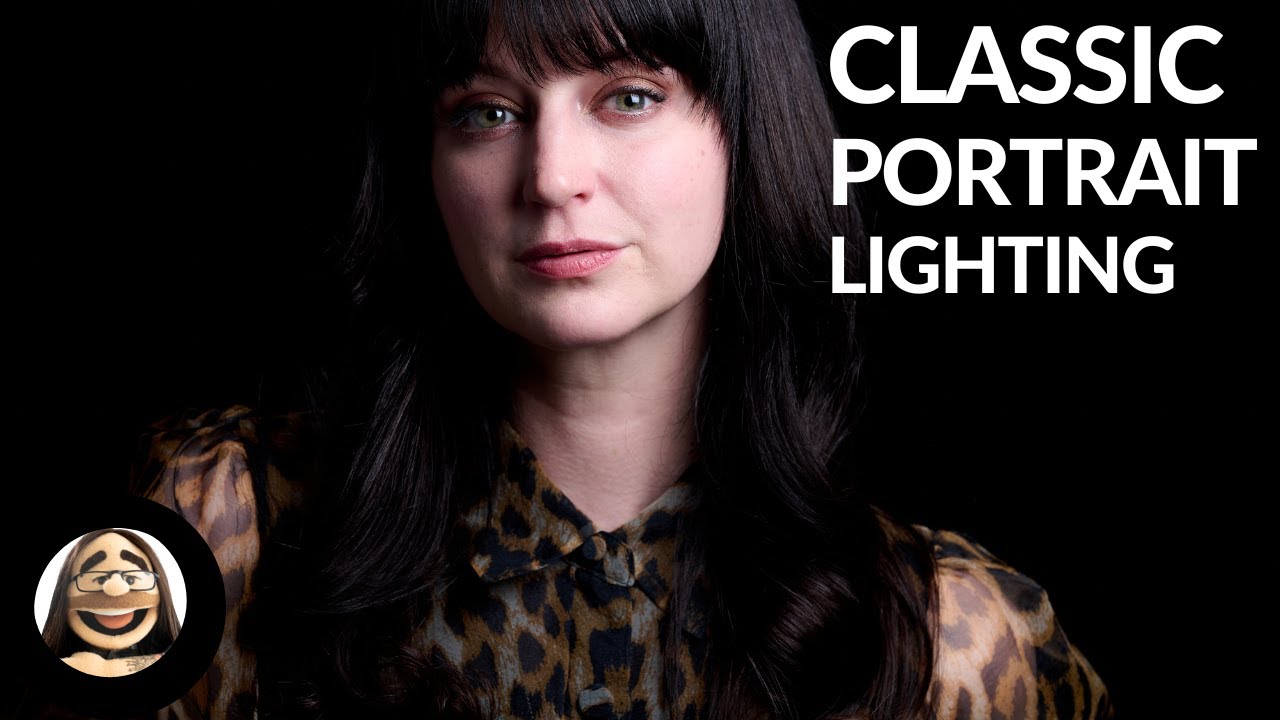
Every few months I come across a tutorial that makes me pause and actually sketch something into my lighting journal. Most videos rehash the same three-light setups I could draw from memory. This one stopped me. Watch the full tutorial on YouTube before or after you read this, because the image of model Alex Kelly that opens it is worth studying on its own. In this Visual Education tutorial, photographer Carl walks through a headshot setup he shot live, in front of an audience, which immediately tells you something about how confident he is in this particular configuration.

Clamshell Lighting Made Simple: How to Build a Flattering Portrait Setup with Continuous Lights

Clamshell Lighting Made Simple: How to Build a Flattering Portrait Setup with Continuous Lights

Most of the lighting problems I see photographers struggle with in the studio come down to one thing: overcomplicating the setup before they understand what a single, well-placed light actually does. I’ve been guilty of this myself. Early in my career I’d show up to a beauty shoot with four lights rigged before my subject even walked in, and half of them were fighting each other. The sessions that taught me the most were the stripped-down ones, the ones where I was forced to work with less and pay attention to what the light was actually doing to the face in front of me.

How to Light Still Life with Real Depth: A Breakdown of Daniel Norton's Two-Light Setup

How to Light Still Life with Real Depth: A Breakdown of Daniel Norton's Two-Light Setup

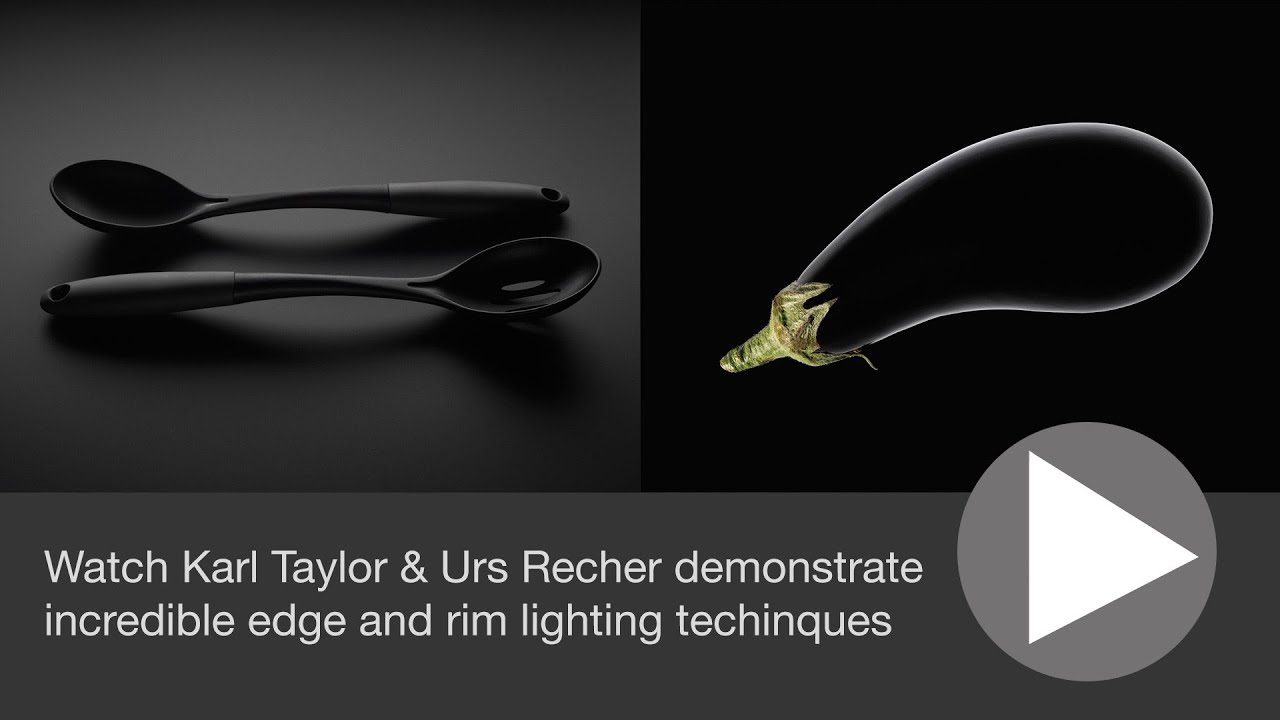
Still life and product work has a reputation for being straightforward. One light, white background, done. And sure, that approach gets the job done for basic e-commerce. But the moment a client wants something that feels tactile, something that makes a viewer want to reach out and pick up the object, flat lighting becomes the enemy. I run into this constantly. A beauty brand will ask for a shot that “pops off the page,” and what they’re really asking for is dimensionality, shadow, a sense that the product exists in physical space rather than floating in a void.

Three Lights, Two Gels, One Killer Fashion Frame: Breaking Down Aaron Nace's High-Fashion Vault Shoot

Three Lights, Two Gels, One Killer Fashion Frame: Breaking Down Aaron Nace's High-Fashion Vault Shoot

Every few months I pull out my lighting journal and flip back through old setups. Some of them make me cringe. Some of them remind me that the best lighting problems get solved before the model ever walks onto the set. The high-fashion vault shoot that Aaron Nace (PHLEARN) breaks down in his tutorial sits firmly in the second category. It’s a tight, purposeful lighting plan built around a location’s existing character, and watching it laid out step by step answered a question I’ve wrestled with on editorial jobs for years: how do you introduce color into a shot without making the skin look like a Halloween costume?

Why Your Studio Workflow Is Costing You an Hour Per Shoot (And How to Fix It)

Why Your Studio Workflow Is Costing You an Hour Per Shoot (And How to Fix It)

The Shoot That Made Me Rethink Everything I once showed up to a corporate headshot day with twelve subjects booked in four hours and no written lighting plan. I had the setup in my head. I’d shot similar work a hundred times. What I hadn’t accounted for was the studio assistant I’d never worked with before, a modeling session that ran over and compressed my setup window, and the fact that I’d swapped my key light modifier the night before and hadn’t re-metered the ratios.

How Joel Grimes Builds a Strobe System That Actually Works in a Working Studio

How Joel Grimes Builds a Strobe System That Actually Works in a Working Studio

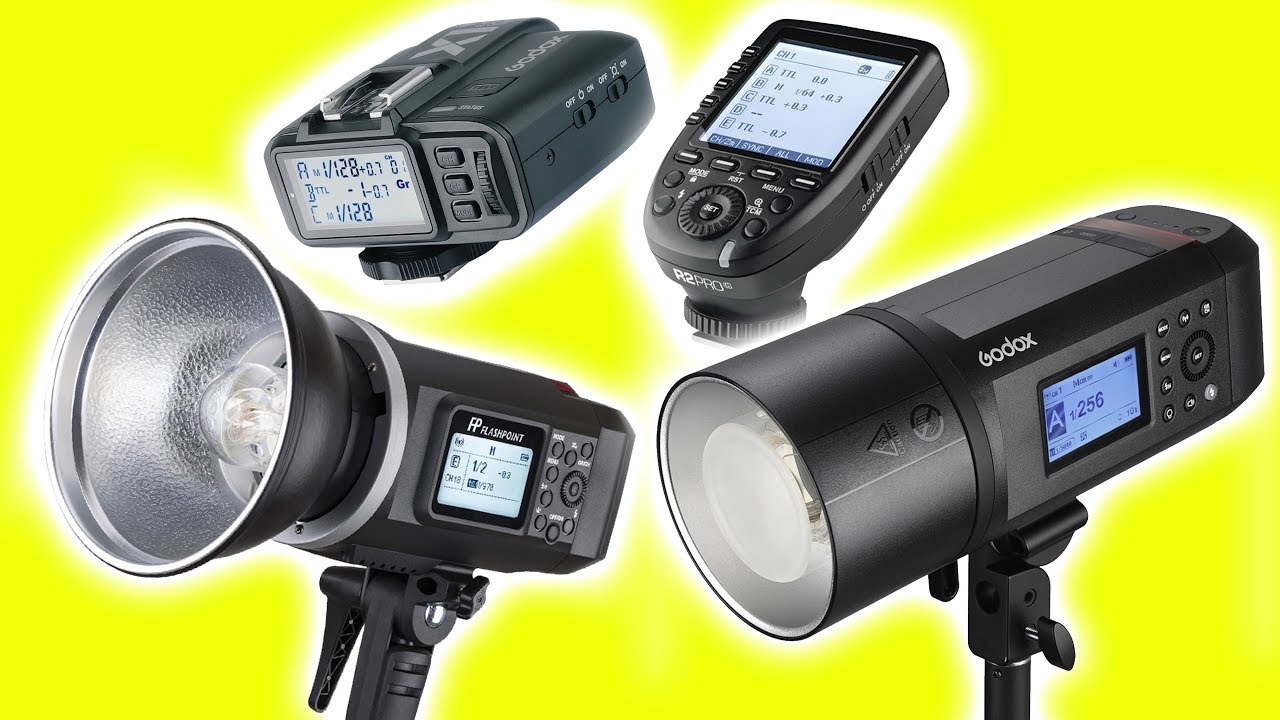
Client calls on a Tuesday. Shoot is Friday. Location is a rooftop in downtown Los Angeles, full midday sun, and they want dramatic, clean portraits with a shallow depth of field. That’s the exact situation where a weak or poorly chosen strobe system stops being an inconvenience and starts costing you the job. I’ve been burned before by gear that looked fine in the studio and fell apart the moment I took it outside, and it taught me to treat strobe selection like I treat any other part of my workflow: with a clear, repeatable checklist.

Why Your Studio Workflow Is Slower Than It Needs to Be (And What My Tape Labels Have to Do With It)

Why Your Studio Workflow Is Slower Than It Needs to Be (And What My Tape Labels Have to Do With It)

The Twenty Minutes That Cost Me a Client A few years back, I was mid-shoot on a beauty campaign, three hours into a six-hour day rate, and my first assistant called out that the kicker on the hair light had drifted two stops. Not because anyone touched it. Because I hadn’t written down the output setting when I built the setup that morning, and we’d been swapping modifiers between setups. By the time we rebuilt the look, we’d burned twenty-two minutes and the client was visibly irritated.

The Studio Workflow That Actually Works: My Step-by-Step System

The Studio Workflow That Actually Works: My Step-by-Step System

I’ve spent fifteen years refining my studio workflow, and I can tell you with certainty: the photographers who produce the best results aren’t the ones with the fanciest gear. They’re the ones who’ve systematized their process so thoroughly that setup becomes automatic and they can focus entirely on their subject. Your workflow is the skeleton that holds everything together—lighting decisions, posing cues, camera settings, even client communication. Without one, you’re improvising.