One Exposure, Two Flashes: How to Photograph Shiny Chrome Without Destroying Your Gradation

One Exposure, Two Flashes: How to Photograph Shiny Chrome Without Destroying Your Gradation

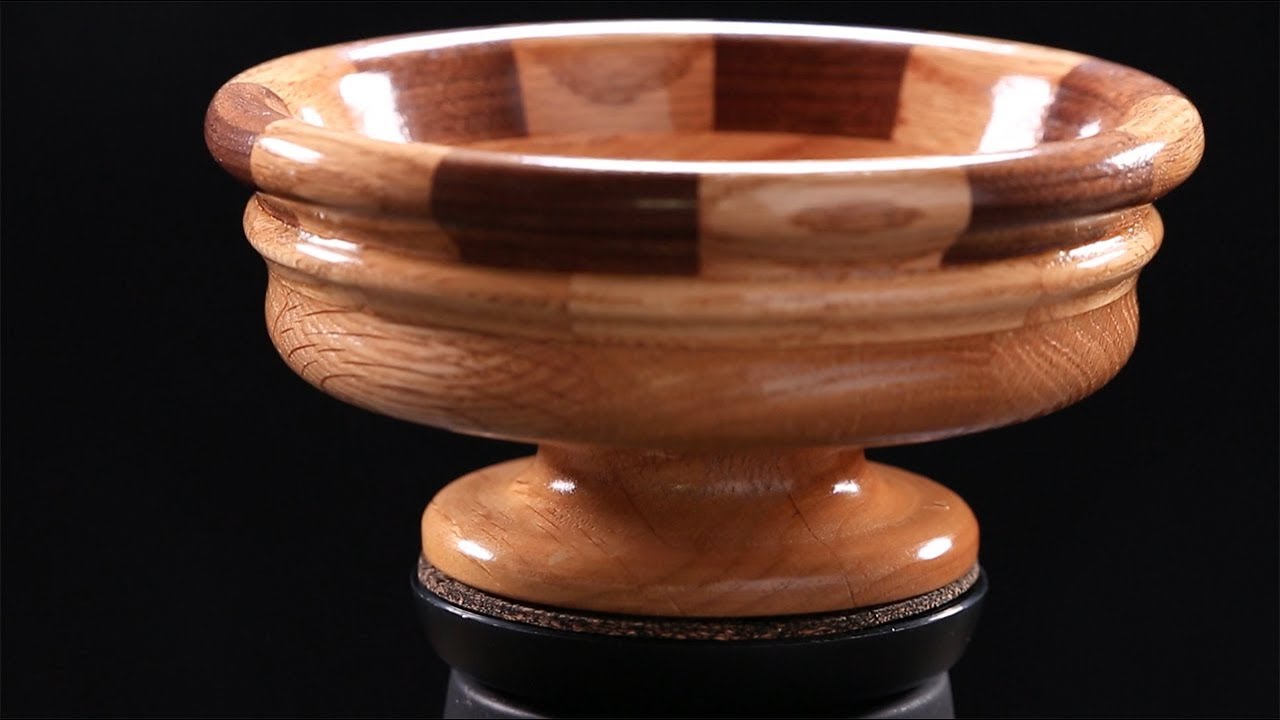
Shiny metal is one of those subjects that separates photographers who understand light from photographers who just point it. Chrome cutlery, polished hardware, jewelry with high-gloss finishes — these objects don’t have a surface so much as a mirror, and that mirror reflects everything in your studio back into the lens. I’ve watched otherwise confident photographers completely fall apart when they have to shoot a set of silverware for a catalog client.
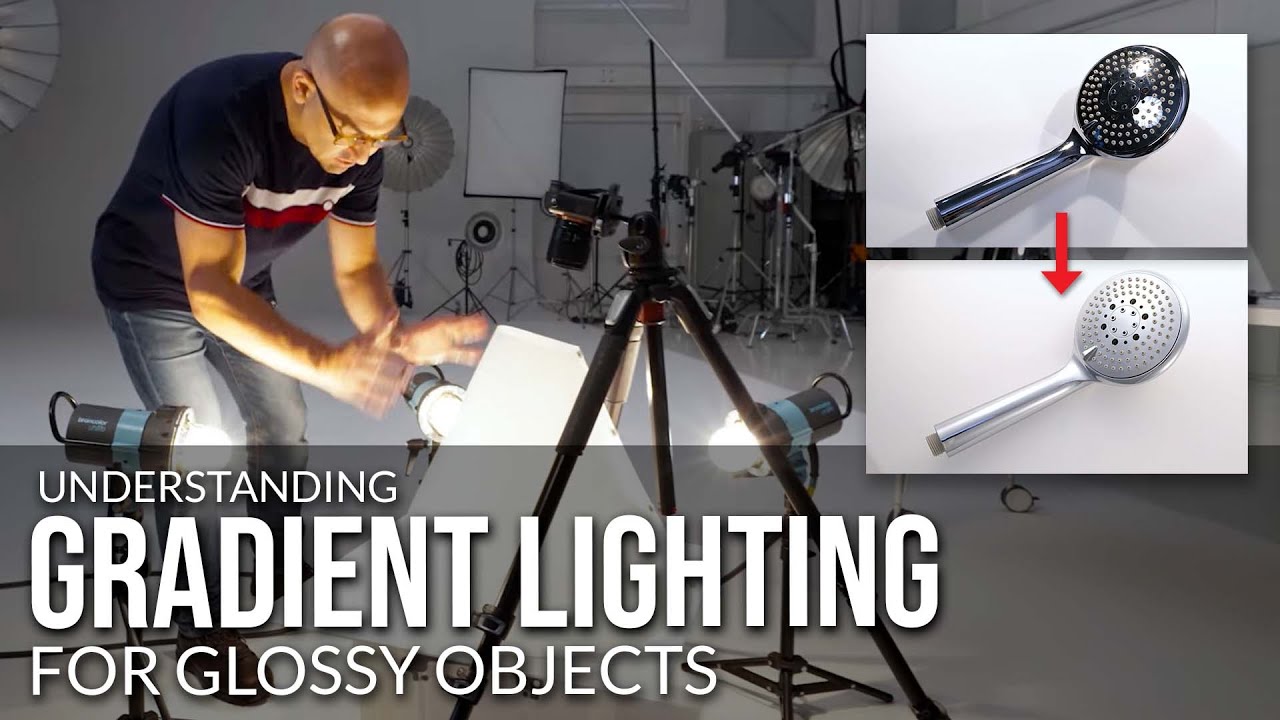
Why Your Glossy Product Shots Look Terrible (And How Gradient Lighting Fixes It)

Why Your Glossy Product Shots Look Terrible (And How Gradient Lighting Fixes It)

Every product photographer has a drawer of shame. Mine has a set of contact sheets from an early commercial shoot - a chrome espresso machine, lit beautifully by every standard I knew at the time, and completely ruined by harsh reflections, dark patches, and a softbox stripe that cut across the body of the product like a fault line. I knew the exposure was right. I knew the composition was solid.

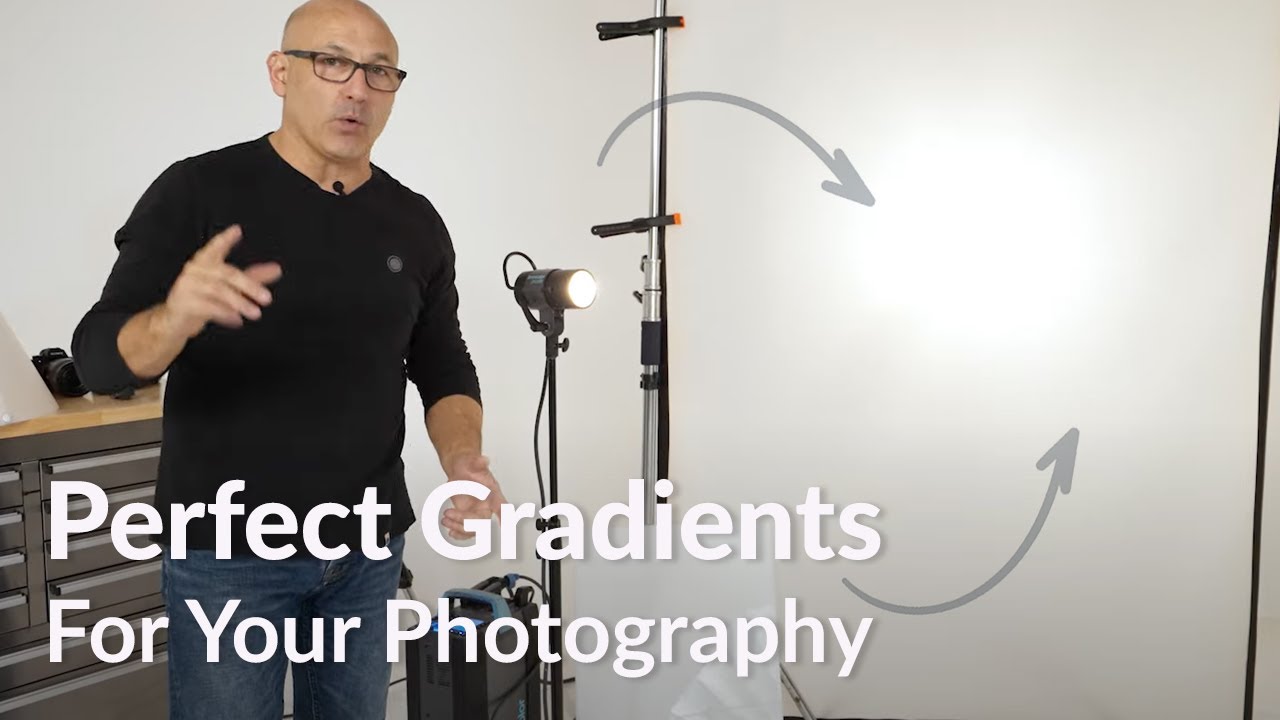
The Gradient Glow: How Diffusion Material Solves the Glossy Product Problem

The Gradient Glow: How Diffusion Material Solves the Glossy Product Problem

There is a specific kind of failure mode that haunts product photographers, and I say this from experience: you set up a perfectly good softbox, you fire the strobe, and the reflection staring back at you from that lipstick tube or watch case looks like a fluorescent office ceiling. Flat, rectangular, utterly charmless. The surface of a glossy product does not behave like skin or fabric. It behaves like a mirror, and a mirror shows you exactly what you pointed at it.

Three Lights, a Spinning Table, and the Product Shot Formula I Wish I'd Had Years Ago

Three Lights, a Spinning Table, and the Product Shot Formula I Wish I'd Had Years Ago

Product shots have a reputation for being straightforward, and that reputation is wrong. I’ve spent more hours than I’d like to admit fighting with a single object on a sweep, chasing specular highlights that blow out the form, or producing rotation video that feels rushed and cheap. The problem is usually not the product. It’s the absence of a clear lighting architecture, one that separates the object from the background, reveals its surface texture, and still leaves the front open enough for the viewer to actually read what they’re looking at.

How to Light a Bottle So It Actually Looks Alive (And Strip It Into Any Shot)

How to Light a Bottle So It Actually Looks Alive (And Strip It Into Any Shot)

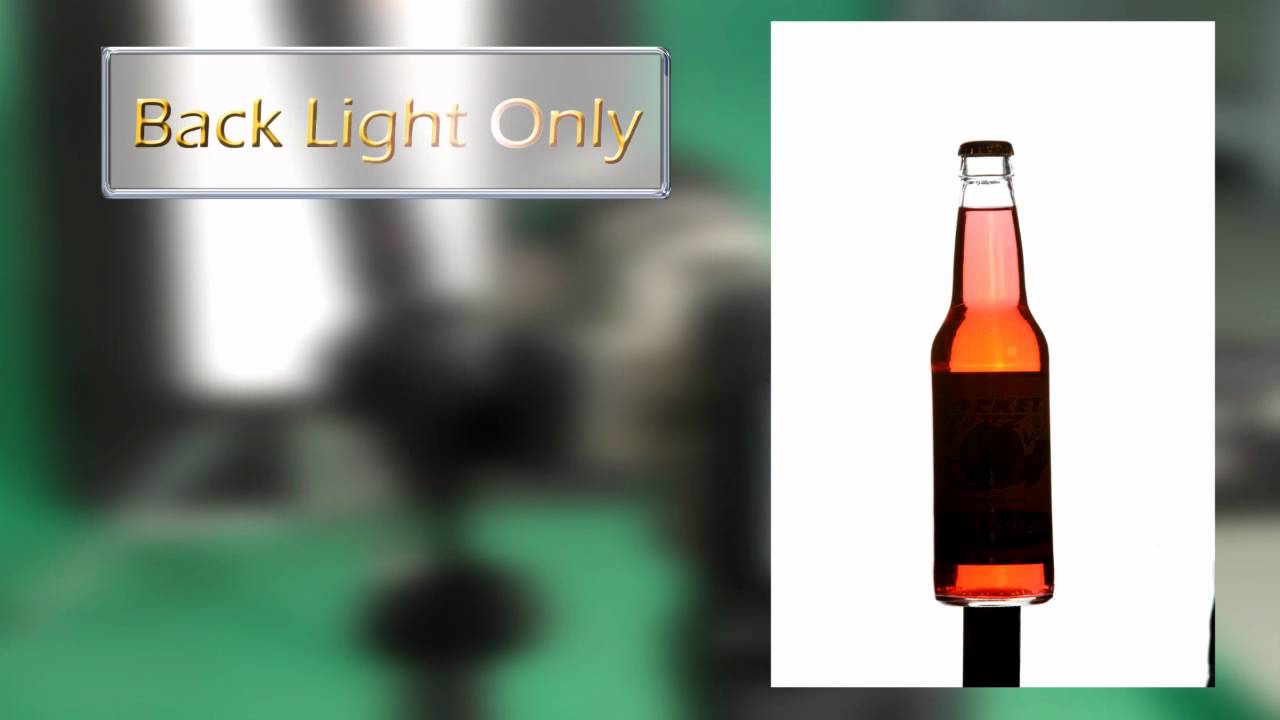
Every few months a client sends me a brief that includes a lifestyle shot with a person holding a product, usually a bottle of some kind, and somewhere in the fine print it says “the product should look great.” It never does. The second a hand wraps around a bottle, you lose control of the light on the glass. The label goes flat, the interior goes dead, and no amount of Photoshop rescues it cleanly.

Why Top Back Lighting Is My Go-To for Product Work (And How to Set It Up in Three Lights)

Why Top Back Lighting Is My Go-To for Product Work (And How to Set It Up in Three Lights)

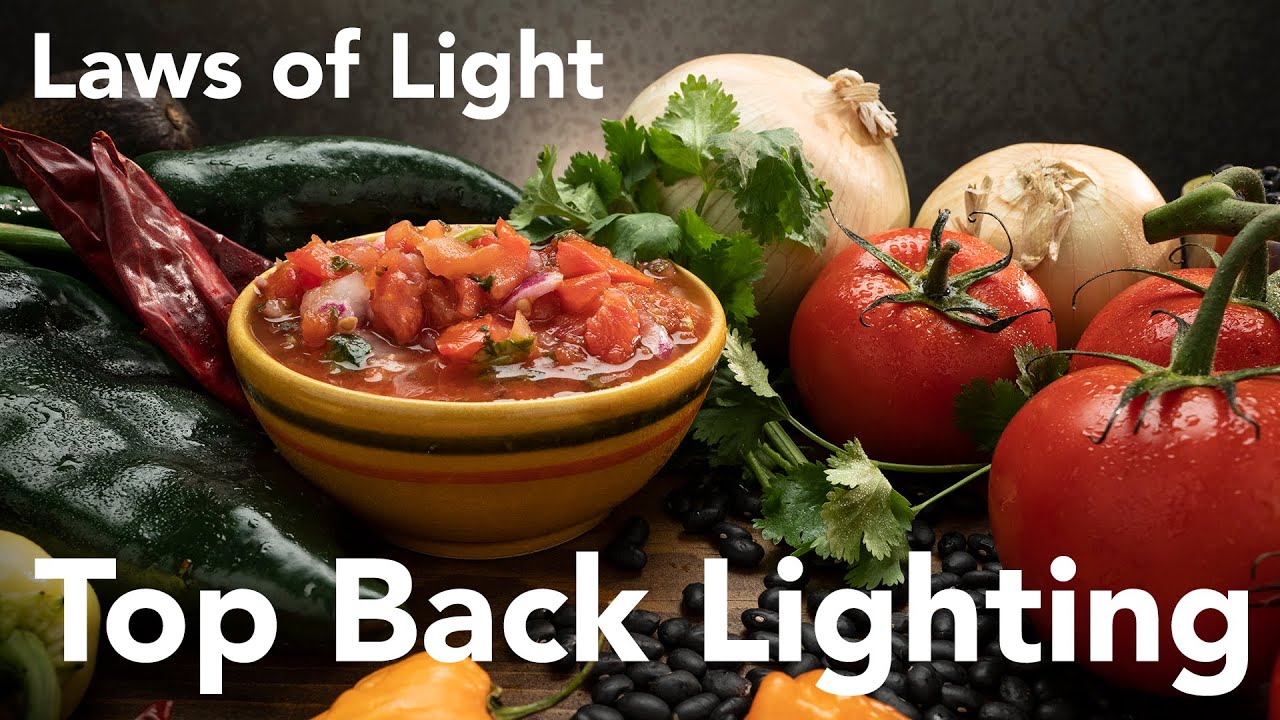
Every product shooter I know, at some point, makes the same mistake. The client wants something simple, the deadline is tight, and the light goes right next to the camera because that’s the safe, fast choice. I’ve done it. The result is always the same: flat surfaces, no separation, a product that looks like a catalog scan from 1997. I kept doing it even after I knew better, because moving the light behind the subject felt counterintuitive and, honestly, a little risky when you’re on the clock.

White on White Without Losing Your Mind: LED Packshot Lighting That Actually Works

White on White Without Losing Your Mind: LED Packshot Lighting That Actually Works

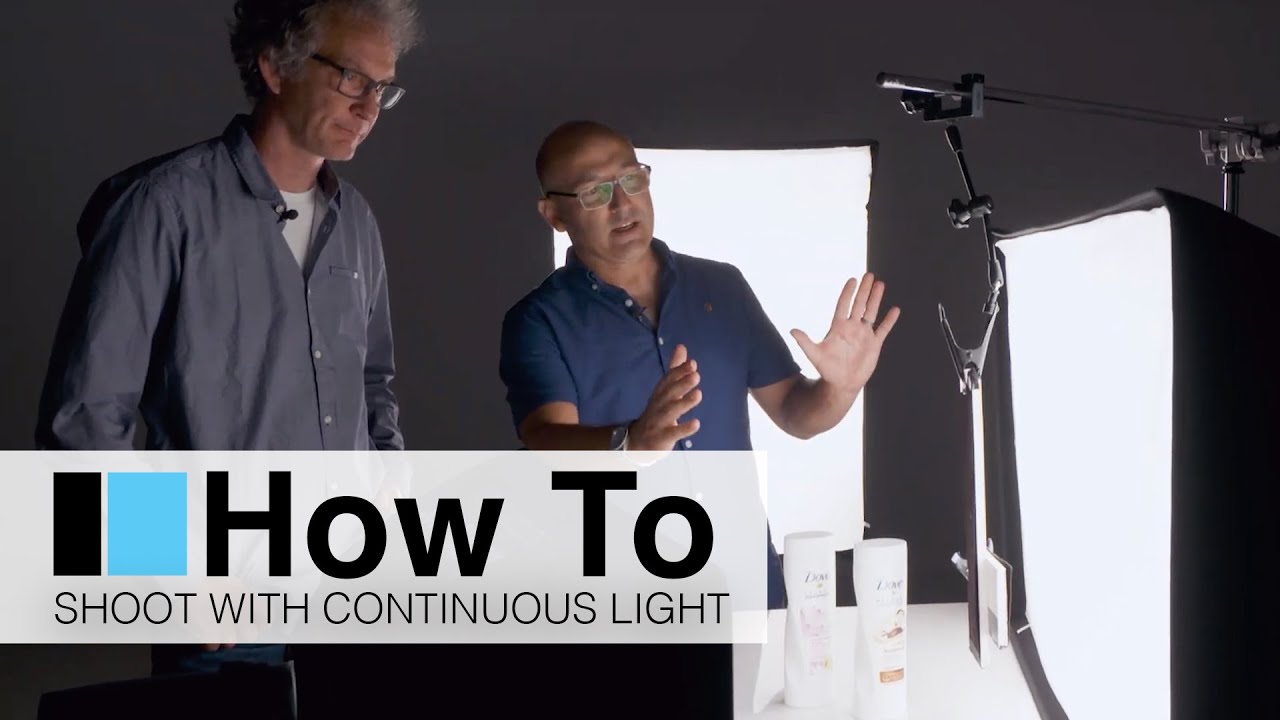
White products on white backgrounds. If you shoot e-commerce or commercial product work with any regularity, that sentence probably makes your eye twitch a little. It’s the kind of brief that sounds straightforward until you’re forty-five minutes into a shoot and your white bottle has completely dissolved into your white background. The edges are gone, the label looks flat, and the client is waiting. I’ve been working through a lot of the broncolor LED material lately because I’ve been fielding more requests from smaller e-commerce clients who also want short video clips alongside their stills.

Why Understanding Materials Is the Real Foundation of Studio Lighting

Why Understanding Materials Is the Real Foundation of Studio Lighting

Every time I walk into a studio with a new product to shoot, the first thing I do is hold it under a bare work light and rotate it slowly. Not to set up a shot. Just to watch. I’m looking at how the surface catches and releases light, where reflections pool, where they scatter, whether the material has any depth to it. I learned to do this after years of jumping straight to the gear and then spending the rest of the session correcting mistakes that should never have happened.

Flash Duration, Not Shutter Speed: How to Freeze a Liquid Pour in the Studio

Flash Duration, Not Shutter Speed: How to Freeze a Liquid Pour in the Studio

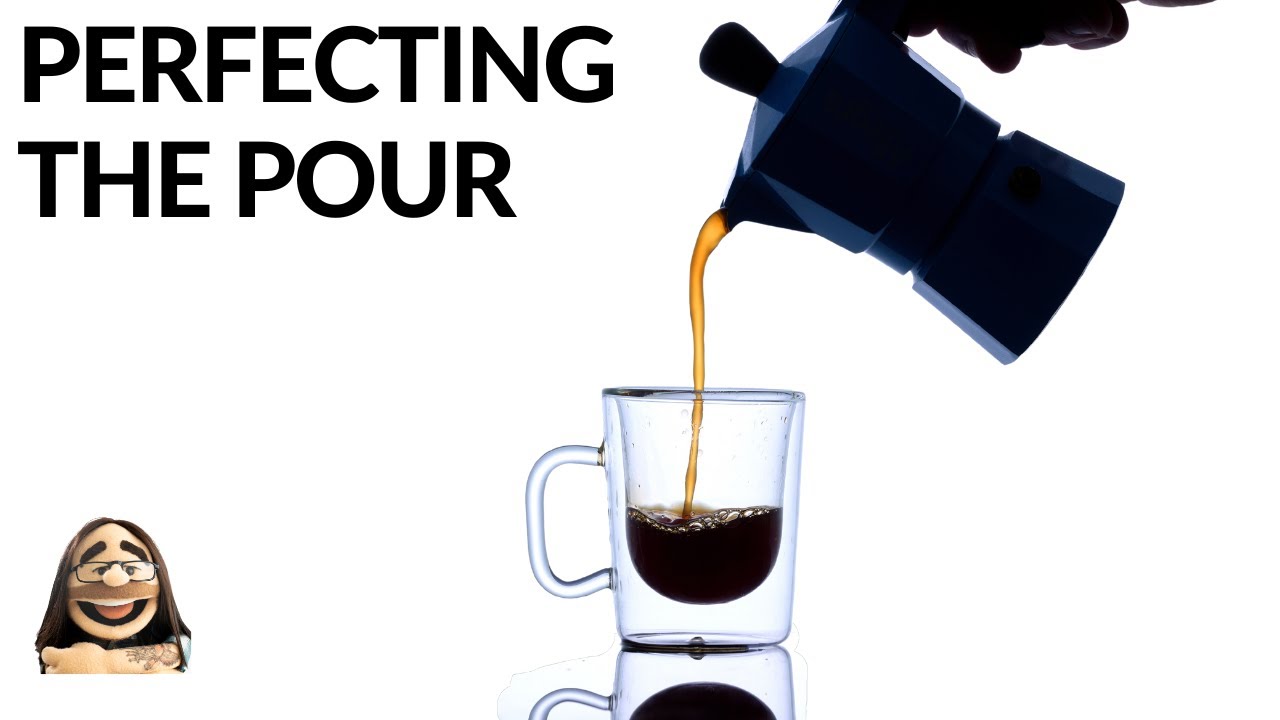
Every few months a client sends me a brief with a liquid shot in it. Coffee pouring into a cup. Whiskey splashing over ice. A serum drop hitting a surface. And every time, I watch junior photographers on set reach for the shutter speed dial as if that’s what’s going to save them. It isn’t. In studio conditions with flash, your shutter speed is nearly irrelevant to motion blur. What actually freezes the liquid is the duration of the flash itself, and if you don’t understand that distinction, you’ll keep getting soft, ghosted pours no matter how fast you shoot.

Kitchen Light: How to Photograph a Bottle with Zero Studio Gear

Kitchen Light: How to Photograph a Bottle with Zero Studio Gear

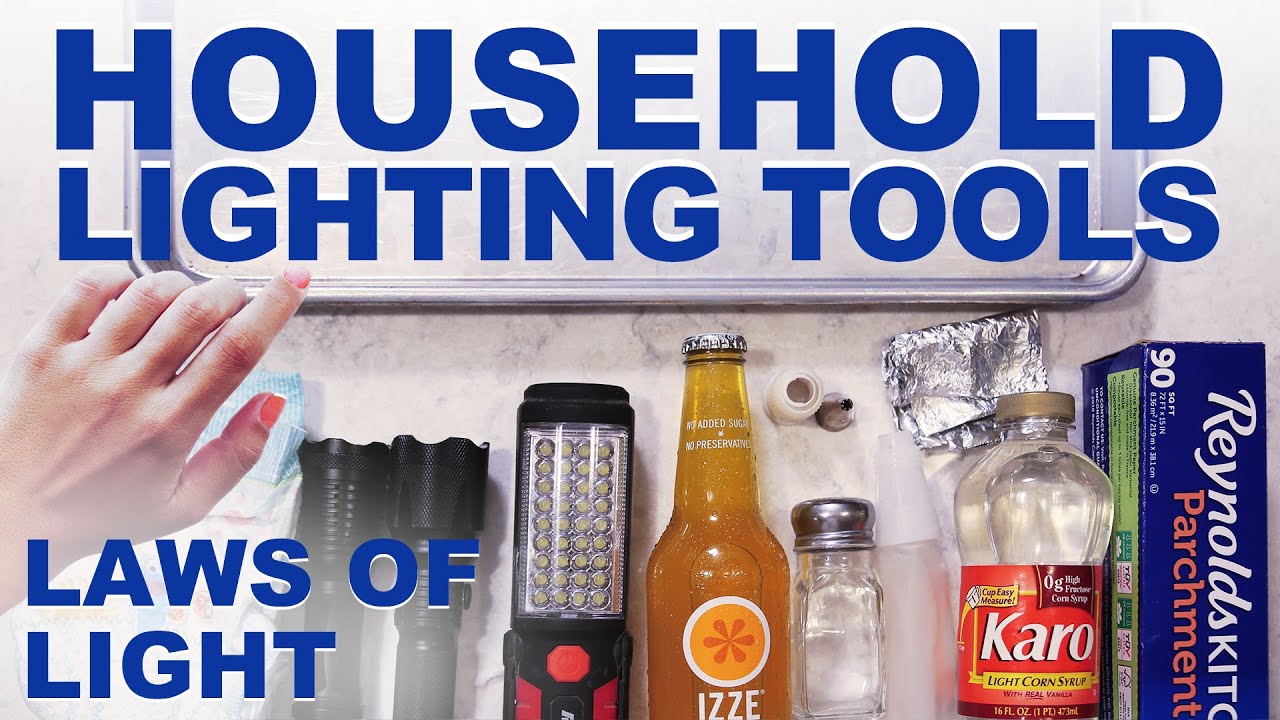
Every commercial photographer hits the same wall at some point: a client wants a polished product shot, you’re not in your studio, and the gear list you’d normally pull from is nowhere within reach. I’ve been in that position more than once, and it has a way of clarifying what you actually understand about light versus what you’ve been leaning on your equipment to solve. That’s why I keep coming back to constraint-based tutorials whenever I want to sharpen my eye.

Your Camera Doesn't Make the Shot. Your Light Does.

Your Camera Doesn't Make the Shot. Your Light Does.

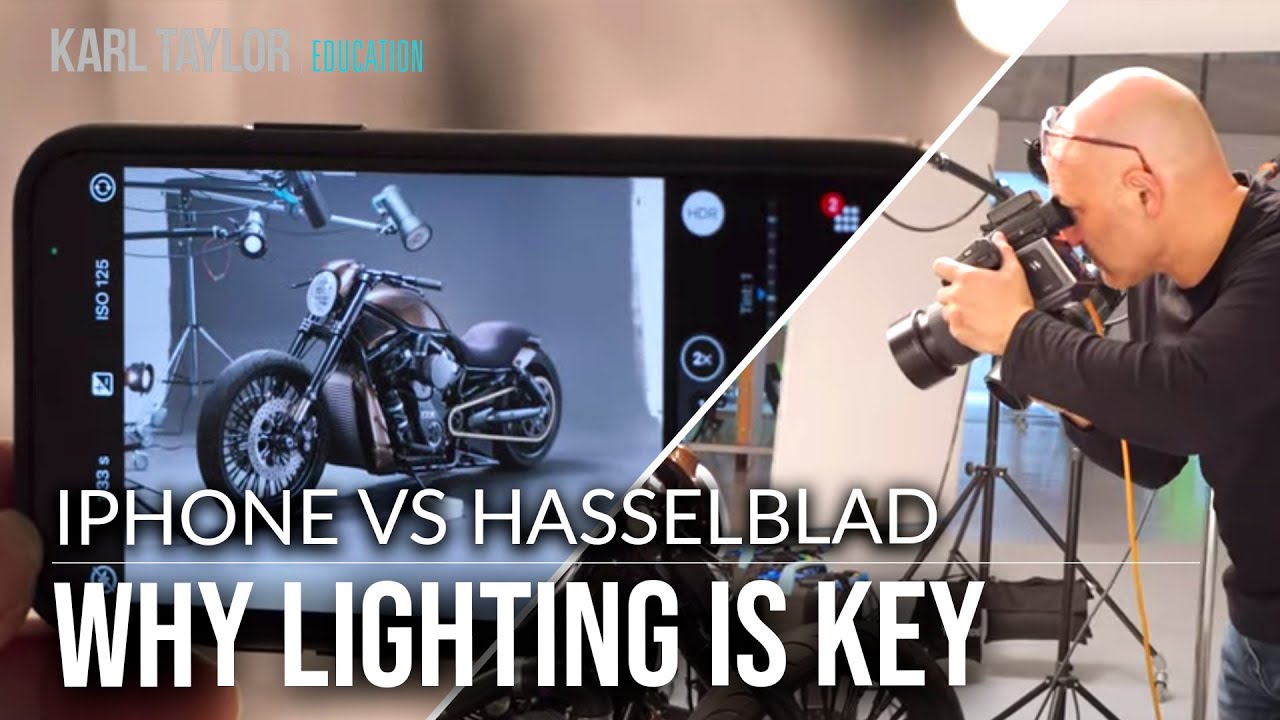
Clients ask me about my camera constantly. At commercial shoots, someone from the brand’s marketing team almost always wanders over and says something like, “Is that a Hasselblad? That must be why the shots look so good.” I’ve stopped arguing about it. But the truth is, the camera is the last thing determining whether your studio image succeeds or falls apart. The first thing is always the light. That’s why a recent Visual Education tutorial stopped me mid-scroll.

10 Studio Accessories Every Professional Photographer Actually Needs (And Why I Reach for Each One)

10 Studio Accessories Every Professional Photographer Actually Needs (And Why I Reach for Each One)

There is a category of photography problem that has nothing to do with lenses or lighting ratios. It is the shoot that grinds to a halt because you have nothing to hold a background flat, or the product that collects fingerprints between every frame, or the light that needs to come in at an angle no standard stand can reach. These are logistics problems, and they will eat a shoot alive.