Video Tutorials
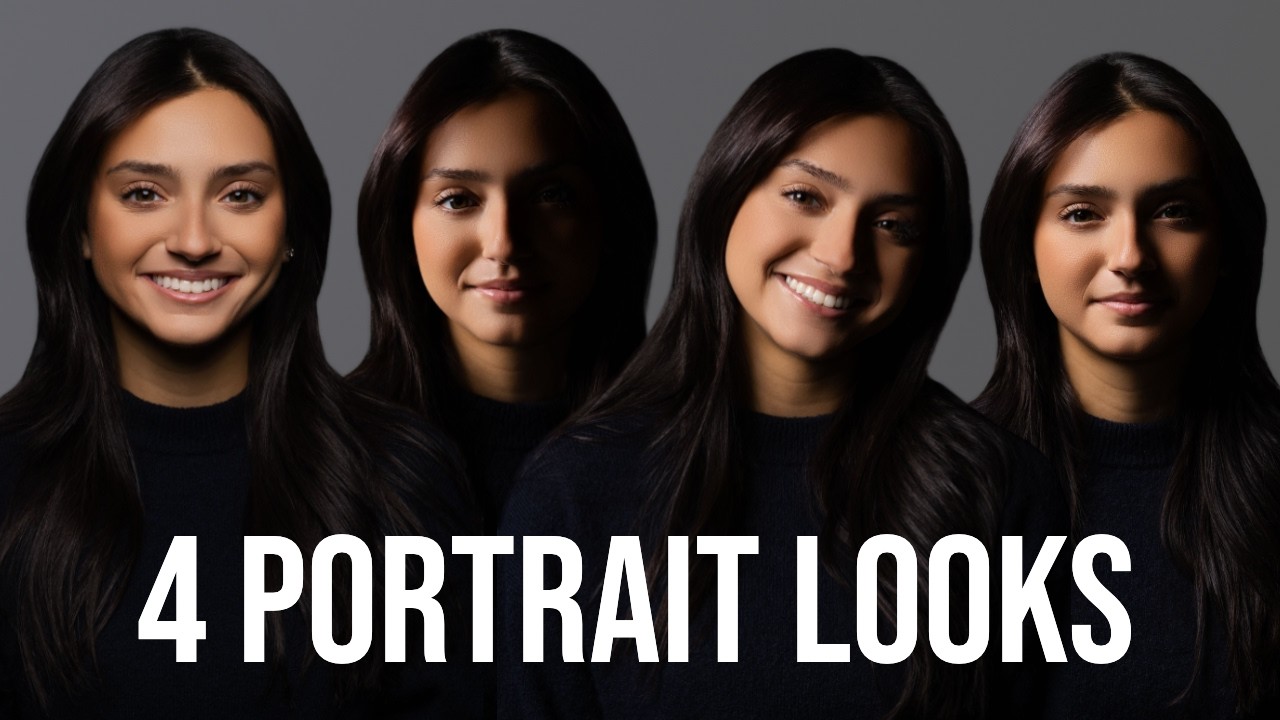
The Four Lighting Patterns Every Studio Photographer Must Master
In this excellent tutorial, Joel Grimes breaks down the intimidating world of studio portrait lighting into four manageable, repeatable patterns. If you’ve ever felt overwhelmed by the complexity of studio work, this is exactly where you need to start. I’ve been lighting portraits for fifteen years, and I can tell you with absolute certainty: these four patterns are the foundation of professional photography. Master them, and you’ll immediately understand why your portraits suddenly look like they belong in a portfolio instead of on Instagram.