The Architecture of Posing: How to Position Your Subject for Maximum Impact

The Architecture of Posing: How to Position Your Subject for Maximum Impact

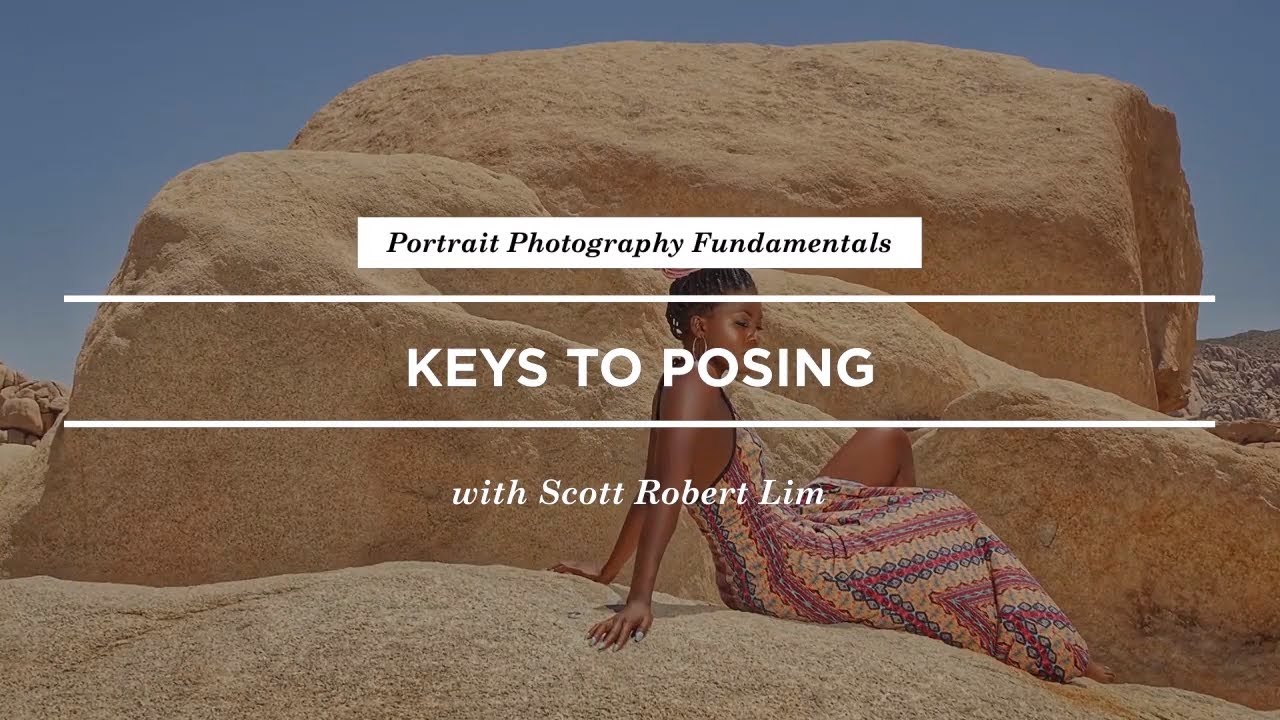
The Architecture of Posing: How to Position Your Subject for Maximum Impact I’ve spent twenty years behind the camera, and I can tell you this with absolute certainty: your lighting setup is only half the equation. A perfectly sculpted three-point light setup means nothing if your subject is standing like a mannequin with their shoulders squared to the camera. Posing isn’t art—it’s architecture. It’s the deliberate placement of lines, angles, and negative space.

Rim Lighting: The Technique That Separates Amateurs From Professionals

Rim Lighting: The Technique That Separates Amateurs From Professionals

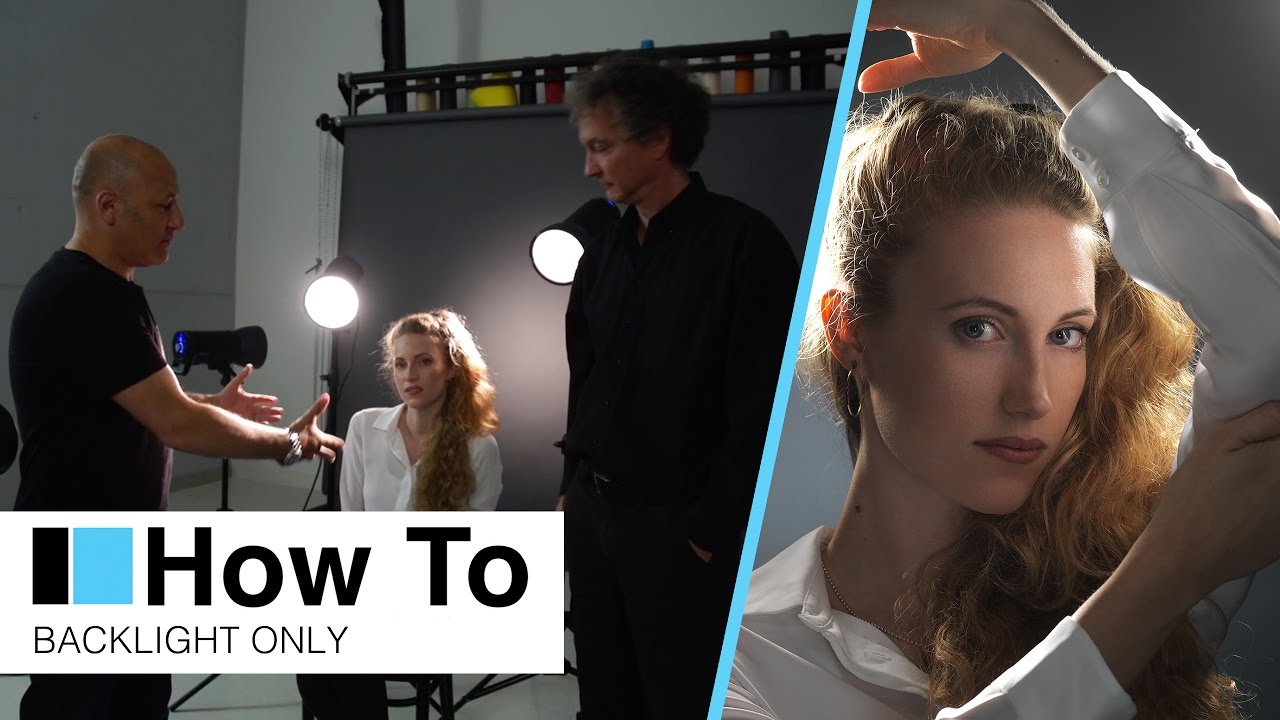
What Rim Lighting Actually Does Rim lighting isn’t decorative—it’s functional. When placed correctly, a rim light creates a bright edge along your subject’s outline, separating them from the background and adding three-dimensional depth to flat studio environments. I’ve watched photographers obsess over key lights and fill ratios while ignoring this critical tool. That’s a mistake. The rim light accomplishes three things: it defines edges (especially hair), it creates visual separation between subject and background, and it adds a professional polish that clients immediately notice, even if they can’t articulate why.

Rim Lighting: The Essential Technique for Separation and Dimension

Rim Lighting: The Essential Technique for Separation and Dimension

Rim Lighting: The Essential Technique for Separation and Dimension I’ve used rim lighting in roughly 70% of my studio work over the past fifteen years, and I’m not exaggerating when I say it’s transformed how my subjects read in frame. A rim light—also called a backlight or hair light—is a dedicated light source positioned behind your subject to create a glowing outline that separates them from the background. Done correctly, it’s invisible to the casual viewer but absolutely critical to the overall image.

Master These Four Fundamental Portrait Lighting Setups to Transform Your Studio Work

Master These Four Fundamental Portrait Lighting Setups to Transform Your Studio Work

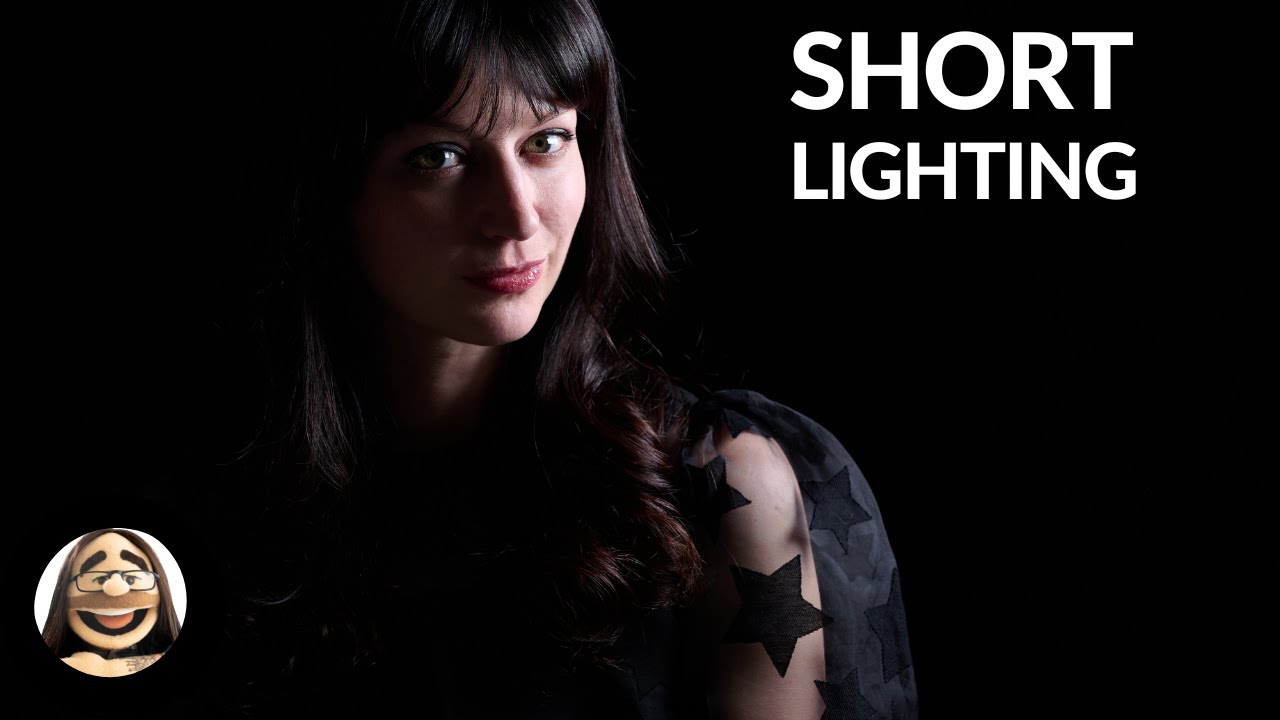
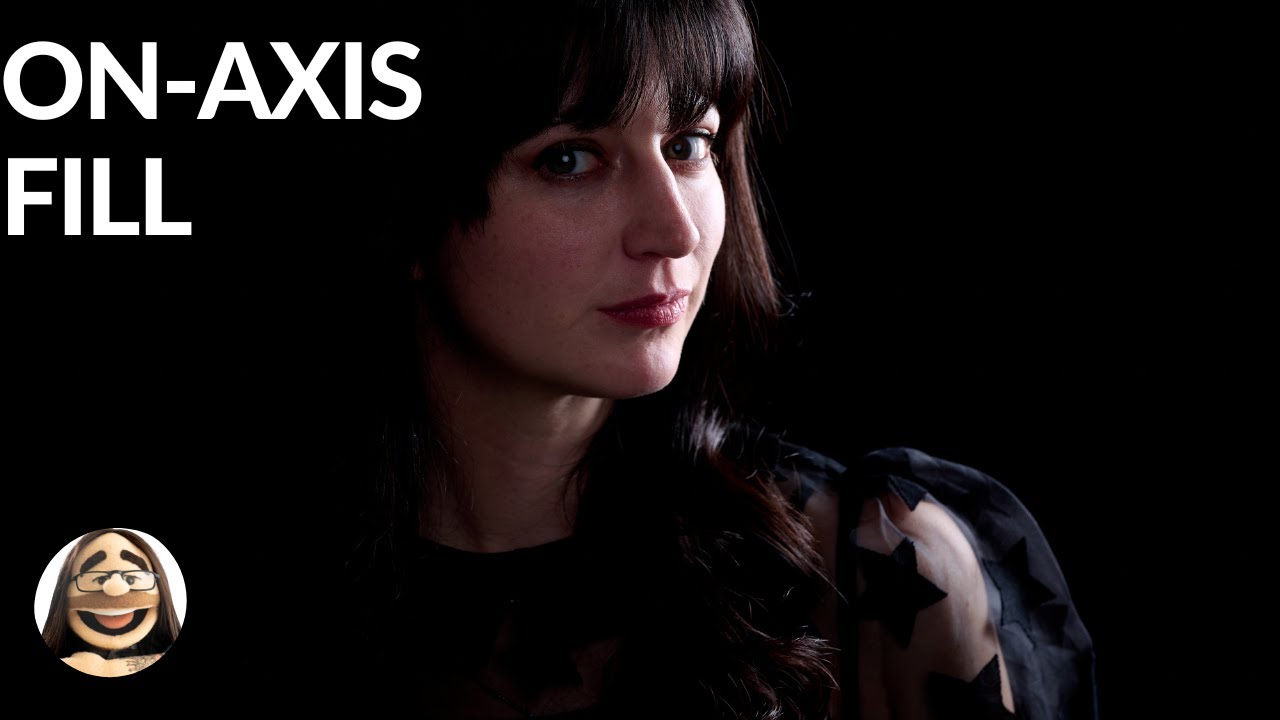
The Foundation That Every Portrait Photographer Needs I’ve spent years refining my approach to portrait lighting, and I can say with confidence that mastering foundational patterns is non-negotiable. Too many photographers jump straight into complex multi-light setups without understanding the principles that make lighting work. It’s like trying to bake without knowing the difference between creaming butter and folding ingredients—you’ll get inconsistent results that frustrate you. The reality is this: once you understand four core lighting patterns, you have a repeatable system that works across nearly every client scenario.

Low Key Lighting: The Discipline of Shadows

Low Key Lighting: The Discipline of Shadows

Low Key Lighting: The Discipline of Shadows Low key lighting isn’t moody for mood’s sake. It’s a deliberate, methodical approach to revealing form through contrast. I’ve spent years refining it, and I’m convinced it separates amateurs from professionals faster than any other technique. When executed properly, low key work demands precision—in positioning, in metering, in every decision you make. Understanding Low Key: Definition and Intent Low key means exactly what it says: the key light is low in output relative to your exposure.