How to Kill Ambient Light and Build a Studio Portrait Anywhere

How to Kill Ambient Light and Build a Studio Portrait Anywhere

There’s a specific kind of panic that hits when a client wants “that clean studio look” and the only location available is a sun-blasted parking lot at noon. I’ve been there more times than I’d like to admit. Over the years I’ve developed my own systems for it, but I keep sending assistants and newer photographers to this particular tutorial because Jay P. Morgan at The Slanted Lens demonstrates the core technique more clearly than I’ve seen it explained anywhere else.
Use Your Camera as a Light Meter: A Step-by-Step Guide to Mixing Ambient and Strobe

Use Your Camera as a Light Meter: A Step-by-Step Guide to Mixing Ambient and Strobe

There is a specific kind of shoot that exposes every gap in your lighting knowledge: outdoor portraits at dusk, fire performers, neon-lit alleys, any situation where the ambient light is already doing something interesting and you need a strobe to fill without killing the mood. I have shown up to those shoots confident and left with frames that looked flat, plasticky, and wrong. The problem was never the strobe power. It was that I was guessing at my ambient exposure instead of measuring it deliberately, then layering the flash on top of a shaky foundation.

Direct Flash Portraits: The One-Light Setup That Cuts Through the Noise

Direct Flash Portraits: The One-Light Setup That Cuts Through the Noise

There’s a particular kind of shoot that humbles you fast: the one where you’ve over-complicated everything. I’ve shown up to simple portrait sessions with four lights, two modifiers, and a diagram I drew at midnight, only to spend the first hour troubleshooting instead of shooting. The clients wait. The energy drops. The photos suffer. Direct flash is the antidote to that spiral. It’s one light, on-camera or near it, pointed straight at your subject.

How to Build a Three-Point Lighting Setup That Actually Separates Your Subject

How to Build a Three-Point Lighting Setup That Actually Separates Your Subject

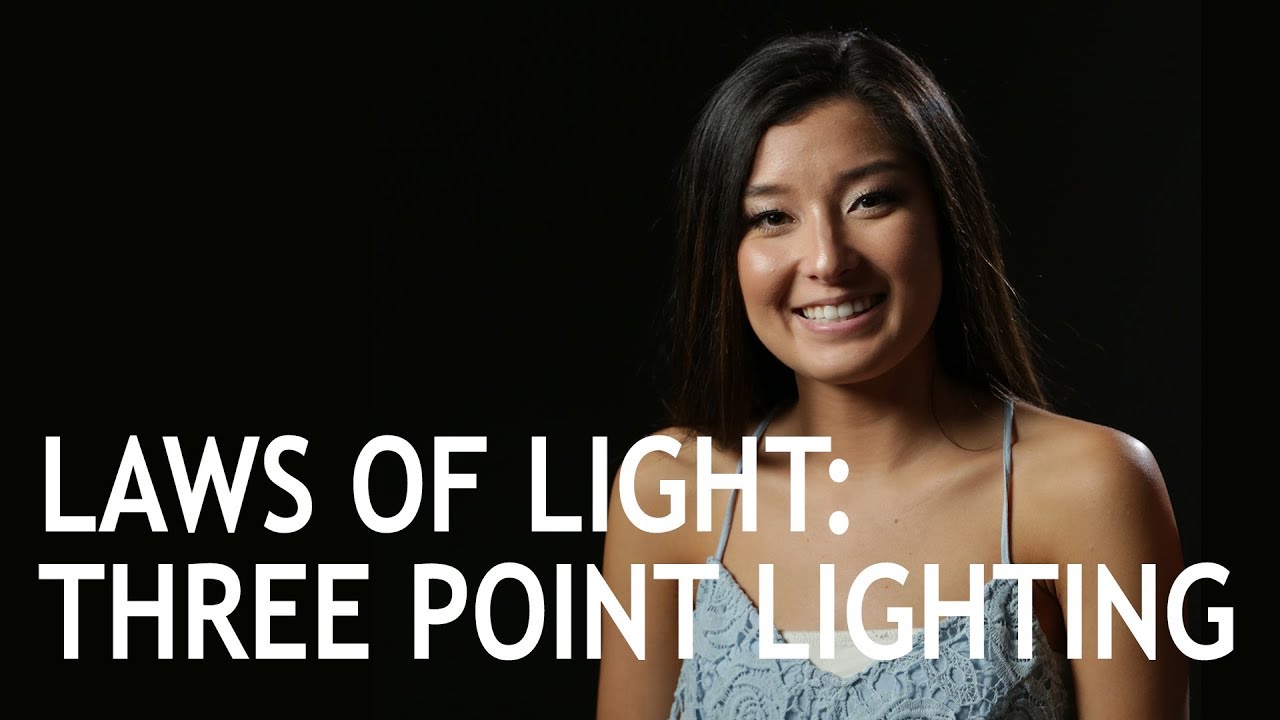
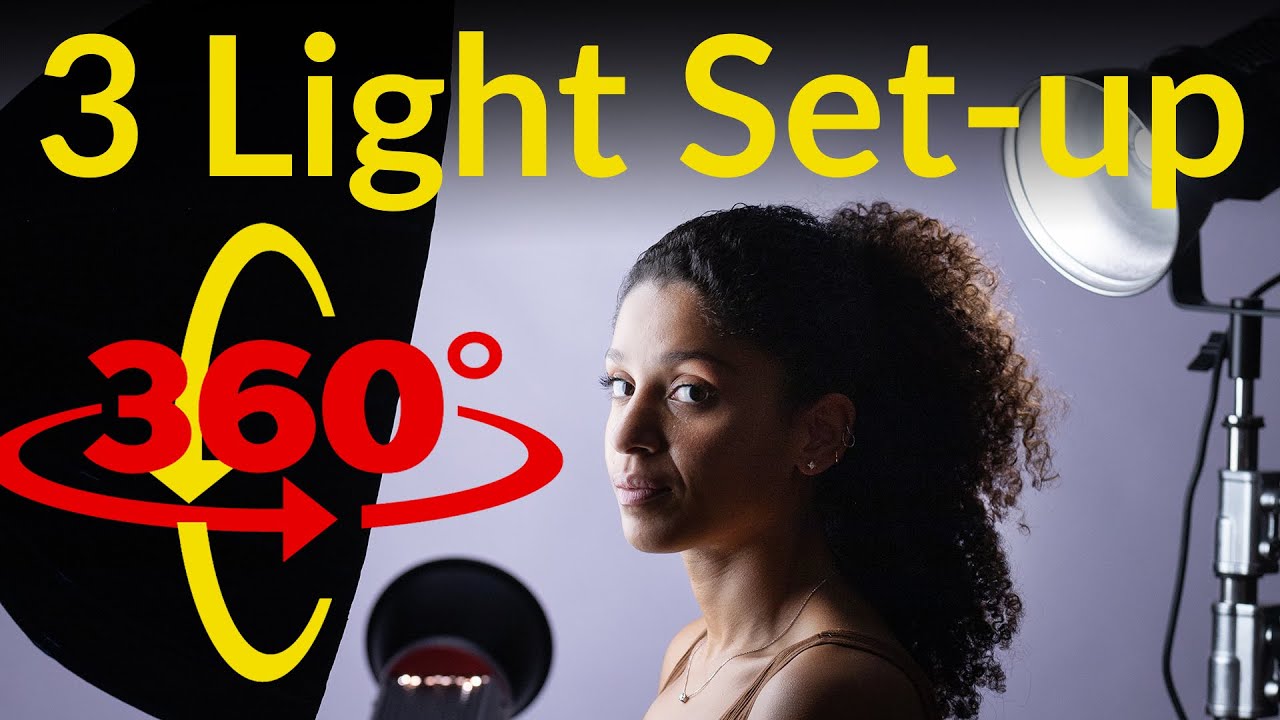
Every portrait photographer hits the same wall eventually. One light looks beautiful in isolation, but the subject disappears into the background, shadows go muddy, and the image loses the dimension that separates a professional result from a snapshot. I’ve stood in my studio at 11pm before a morning editorial call, staring at a flat, lifeless frame and wondering what was missing. The answer, almost every time, was a deliberate three-point lighting strategy rather than a single key light I was trying to coax into doing five jobs at once.

One Light Is a Starting Point. Here's How Two More Turn It Into a Real Portrait.

One Light Is a Starting Point. Here's How Two More Turn It Into a Real Portrait.

Every working portrait photographer eventually runs into the same problem: a technically correct key light that produces a flat, airless image. The subject is lit. The exposure is right. And the photo looks like a DMV headshot. What’s missing isn’t more light, it’s separation, depth, and the kind of shadow structure that makes a face look three-dimensional on a two-dimensional surface. That’s the problem this tutorial addresses directly. In this The Slanted Lens tutorial, photographer Jay P.

One Light, Done Right: How a Single Strobe Can Outperform a Rack Full of Gear

One Light, Done Right: How a Single Strobe Can Outperform a Rack Full of Gear

The Setup That Made Me Rethink Everything I Owned A few years ago I was prepping for a beauty editorial, three lights rigged, a fourth on standby, and my assistant staring at me like I was building a spaceship. We lost power to two of the heads mid-session. Faulty cable, bad timing, real problem. I could have packed up. Instead, I flagged the remaining light, moved it six inches to camera left, and kept shooting.

How to Actually Direct a Subject: Three Posing Techniques I Wish I'd Learned Earlier

How to Actually Direct a Subject: Three Posing Techniques I Wish I'd Learned Earlier

Posing is the part of studio work that separates photographers who produce technically correct images from photographers who produce compelling ones. I can dial in a perfect three-light setup, calibrate my color temperature, sketch the diagram in my lighting journal before the client walks through the door - and still blow a shoot if I can’t direct a subject with confidence. The technical side of this job I figured out through practice and repetition.

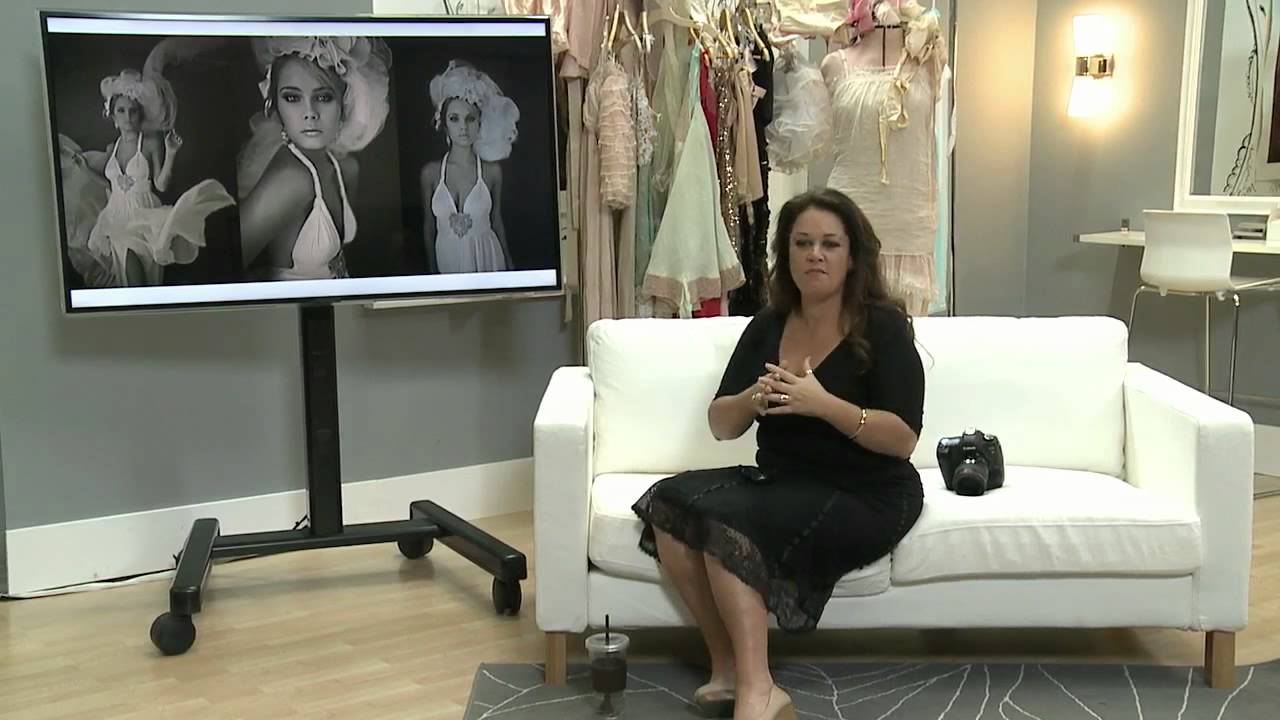
From Portrait Studio to Portrait Couture: What Sue Bryce's Glamour Workflow Taught Me About Shooting With Intent

From Portrait Studio to Portrait Couture: What Sue Bryce's Glamour Workflow Taught Me About Shooting With Intent

There’s a specific problem I keep running into with clients who book a “portrait session” and show up expecting something that looks more editorial than standard headshot. For years I tried to bridge that gap on the fly, adjusting in the room, improvising wardrobe choices, coaching poses I hadn’t planned. It worked sometimes. It also fell apart sometimes. What I was missing was a deliberate system for shifting the register of a shoot from documentary portrait to something more intentional and designed.

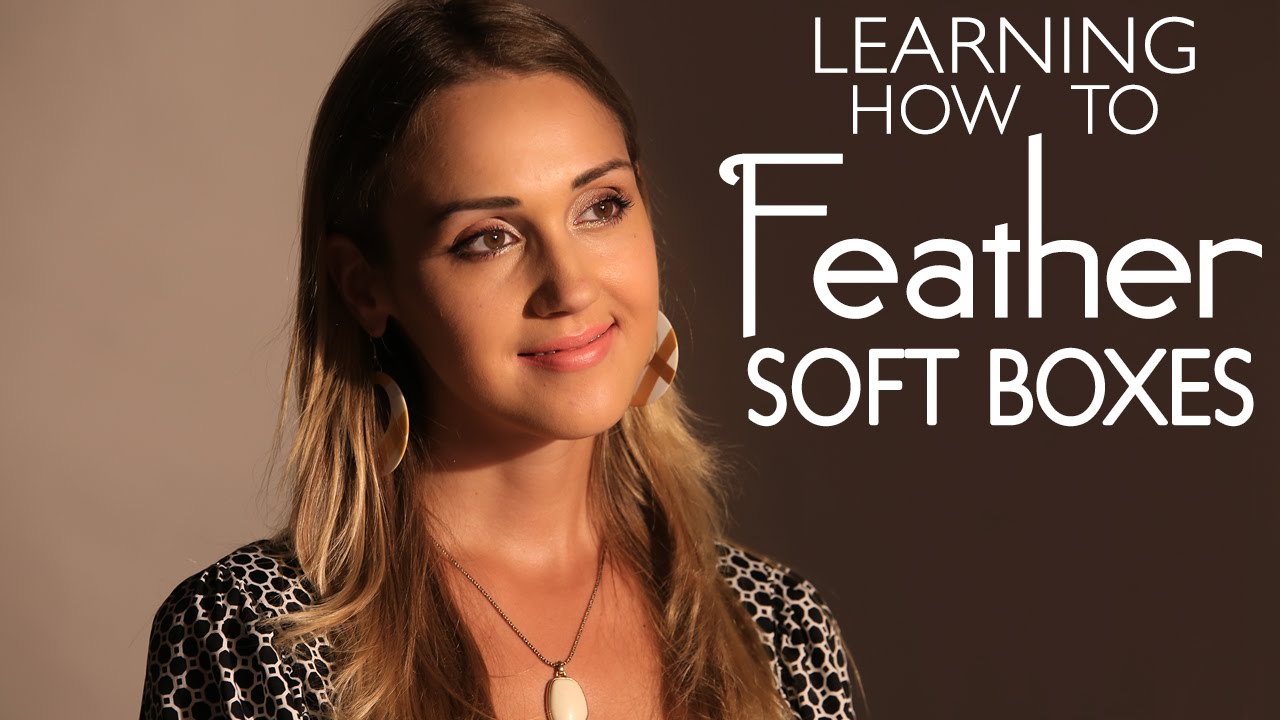
Feathering Your Softbox: The One Adjustment That Separates Controlled Light from Flat Light

Feathering Your Softbox: The One Adjustment That Separates Controlled Light from Flat Light

There’s a specific kind of frustration I know well. You’re on location, you’ve set the softbox, taken your first frame, and everything is lit. The ground. The background. The subject’s shoes. The fence nobody asked for. The light is doing its job technically, but the image looks like a police procedural, not a portrait. For years, I adjusted power output trying to solve a problem that was never about power. It was about aim.

Steal the Concepts, Not the Style: What Bambi Cantrell's Posing Tutorial Actually Teaches You

Steal the Concepts, Not the Style: What Bambi Cantrell's Posing Tutorial Actually Teaches You

I keep a lighting journal. Every shoot, I sketch the setup in a small hardcover notebook I’ve had since my second year shooting commercially. Modifiers, distances, angles, the subject’s position relative to the key light. What I’ve noticed, flipping back through years of those sketches, is that my best work doesn’t come from copying someone else’s exact setup. It comes from understanding why a setup works and then bending it to fit the way I think.

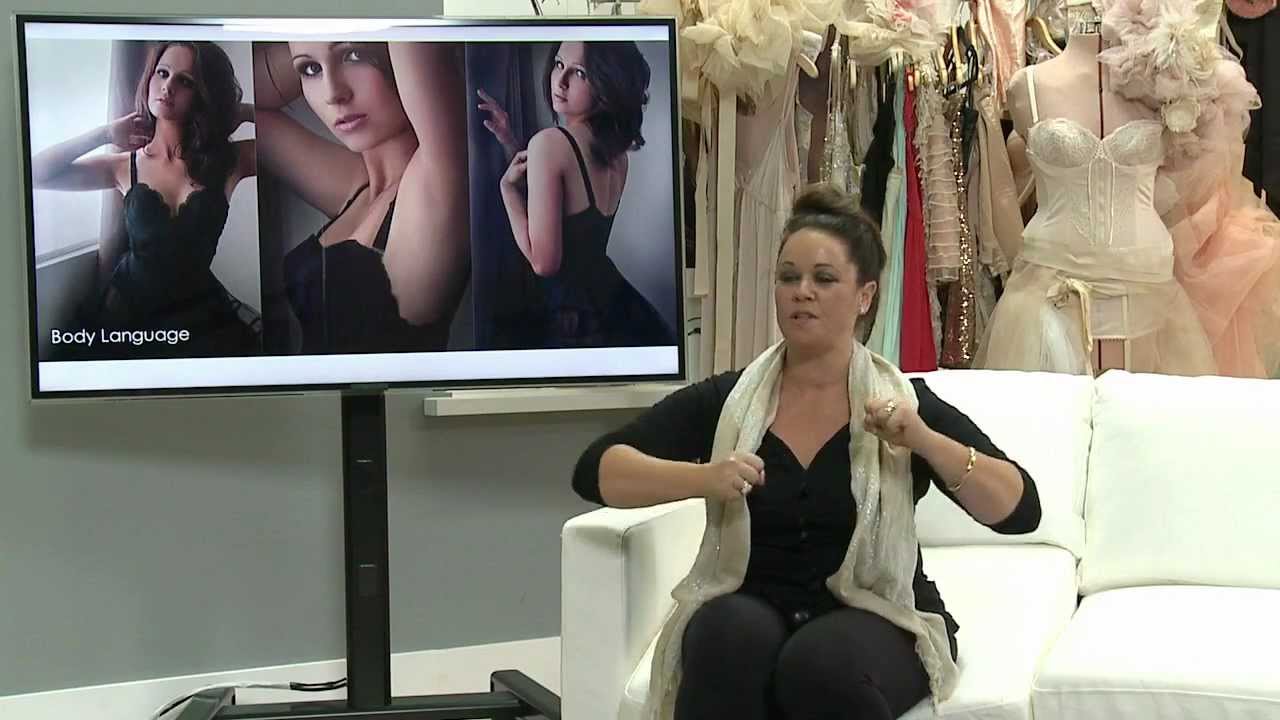
Flow Posing in the Studio: How Sue Bryce's Direction Framework Changed the Way I Shoot Portraits

Flow Posing in the Studio: How Sue Bryce's Direction Framework Changed the Way I Shoot Portraits

Posing is the thing most lighting-focused photographers underestimate until it costs them a client. I know this because I spent years dialing in my light, calibrating my modifiers, labeling every fixture in my studio with masking tape so nothing would ever be ambiguous, and then watching perfectly lit frames fall apart because my subject looked stiff, uncertain, or just geometrically wrong. Good light on a bad pose is still a bad photograph.

Five Lights, One Great Portrait: A Working Photographer's Breakdown of Classic Studio Lighting

Five Lights, One Great Portrait: A Working Photographer's Breakdown of Classic Studio Lighting

Every few years I’ll be prepping for a straightforward editorial portrait and a newer assistant will ask me why I’m setting up five lights for a single-subject shot. The honest answer is that each light is doing a specific, non-negotiable job. Remove any one of them and the image degrades in a way that’s immediately visible to anyone who shoots professionally. The problem is that most photographers learn these lights in isolation, so they understand what a fill light is in theory without ever feeling the actual difference it makes when you dial it up or pull it back.